Let’s break this into a practical flow.
Step 1: Define the Workflow, Not the Tool
Start with the outcome.
Not the AI.
Ask:
What process are we trying to automate?
Example: Lead qualification
Break it into steps:
- Data collection
- Evaluation
- Response generation
If the workflow isn’t clear, the system will fail later.
Step 2: Choose the Right No-Code Platform
You need a tool that lets you connect logic visually.
Popular options:
- Flowise
- LangFlow
- Zapier AI
- Make.com
Each allows you to connect models, APIs, and triggers without heavy coding.
Pick based on complexity, not popularity.
Step 3: Build Agents with Clear Roles
This is where most people get it wrong.
They create “generic AI agents.”
That kills performance.
Instead, define:
- One task per agent
- Clear input and output
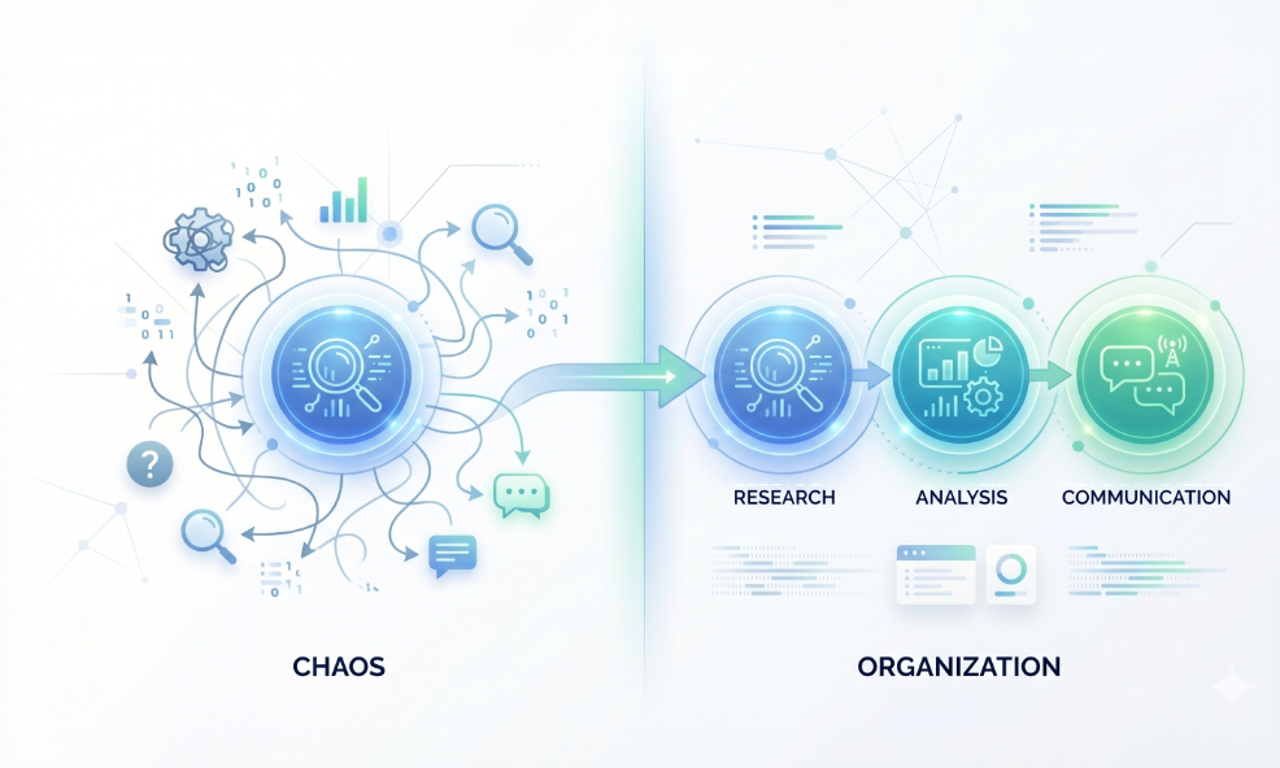
Example:
- Research agent → raw data
- Analysis agent → structured insights
- Response agent → final output
Simple systems scale better.
Step 4: Design Agent Communication
Agents don’t just run.
They collaborate.
That means:
- Passing structured data
- Using consistent prompts
- Avoiding ambiguity
Bad communication = broken workflows.
This is where most no-code builds quietly fail.
Step 5: Add Triggers to Activate the System
Your system needs a starting point.
Common triggers:
- Form submission
- CRM update
- API request
- User message
Once triggered, the agents should run automatically, without manual steps.
Step 6: Test Like It’s a Product Not a Demo
Most teams test outputs.
They don’t test systems.
Focus on:
- Accuracy across steps
- Agent coordination
- Failure handling
- Speed under load
If one agent breaks, the whole workflow breaks.