-
Fast Setup: Skip complex configurations and start writing React right away.
-
Ideal for Learning: Perfect for experimenting with small components or learning React fundamentals.
-
No Build Tools: React via CDN eliminates the need for node, npm, or bundlers.
-
Limitations for Scaling: Best for small projects; not suited for large-scale production apps.
Using React via CDN: Skip the Setup and Start Building Fast
Published on: 24 December 2025
Last updated on: 15 June 2026

You sit down to build a small feature with React, thinking it’ll be a quick task—just a simple interactive component.
You open your terminal, install dependencies, configure the tools, and suddenly, you’re tangled in setup issues. The task that should’ve been straightforward is now a time-consuming process full of errors and distractions.
It makes you wonder,
Why does something this simple need so much setup?
and,
What if you could skip the setup entirely and jump straight into writing React?
That’s exactly what React via CDN offers. It allows you to load React directly in the browser, bypassing the usual configuration hassles. Perfect for quick experiments, learning, or small projects—though it’s not without its limitations for larger-scale applications.
What is React via CDN?
React via CDN is a straightforward way to get React up and running quickly. Instead of dealing with the usual setup—installing npm packages, configuring build tools, and compiling JSX—you load React directly from a CDN. No local dependencies, no build tools, just pure React in the browser.
Here’s how it works:
- CDN (Content Delivery Network): React is hosted on a high-speed server network, so it’s delivered quickly and efficiently, regardless of your location.
- JSX in the Browser: Normally, JSX (like <h1>Hello World</h1>) needs to be compiled. With React via CDN, Babel takes care of compiling JSX directly in the browser.
- React and ReactDOM: These two core libraries are available right out of the box, ready to be used as soon as the page loads.
Why Does This Matter?
For anyone who just wants to experiment or learn React, this method cuts through the typical setup time. It’s also ideal for embedding small React features into existing websites, where a full build system might be overkill.
React via CDN vs Traditional React Setup
|
Feature |
React via CDN |
Traditional React Setup |
|
Setup Time |
Instant (No installation) |
10–20 minutes (Install dependencies, configure build tools) |
|
Dependencies |
None (React loaded via CDN) |
React, ReactDOM, Webpack, Babel, etc. |
|
JSX Compilation |
Compiled in the browser via Babel |
Compiled at build time |
|
Performance |
Slower (no optimization) |
Optimized for production (e.g., tree shaking, code splitting) |
|
Scalability |
Best for small projects, demos, and learning |
Ideal for large, scalable applications |
|
Use Case |
Quick prototypes, demos, learning |
Full-scale production apps, team collaboration |
The Advantages and Disadvantages of React via CDN
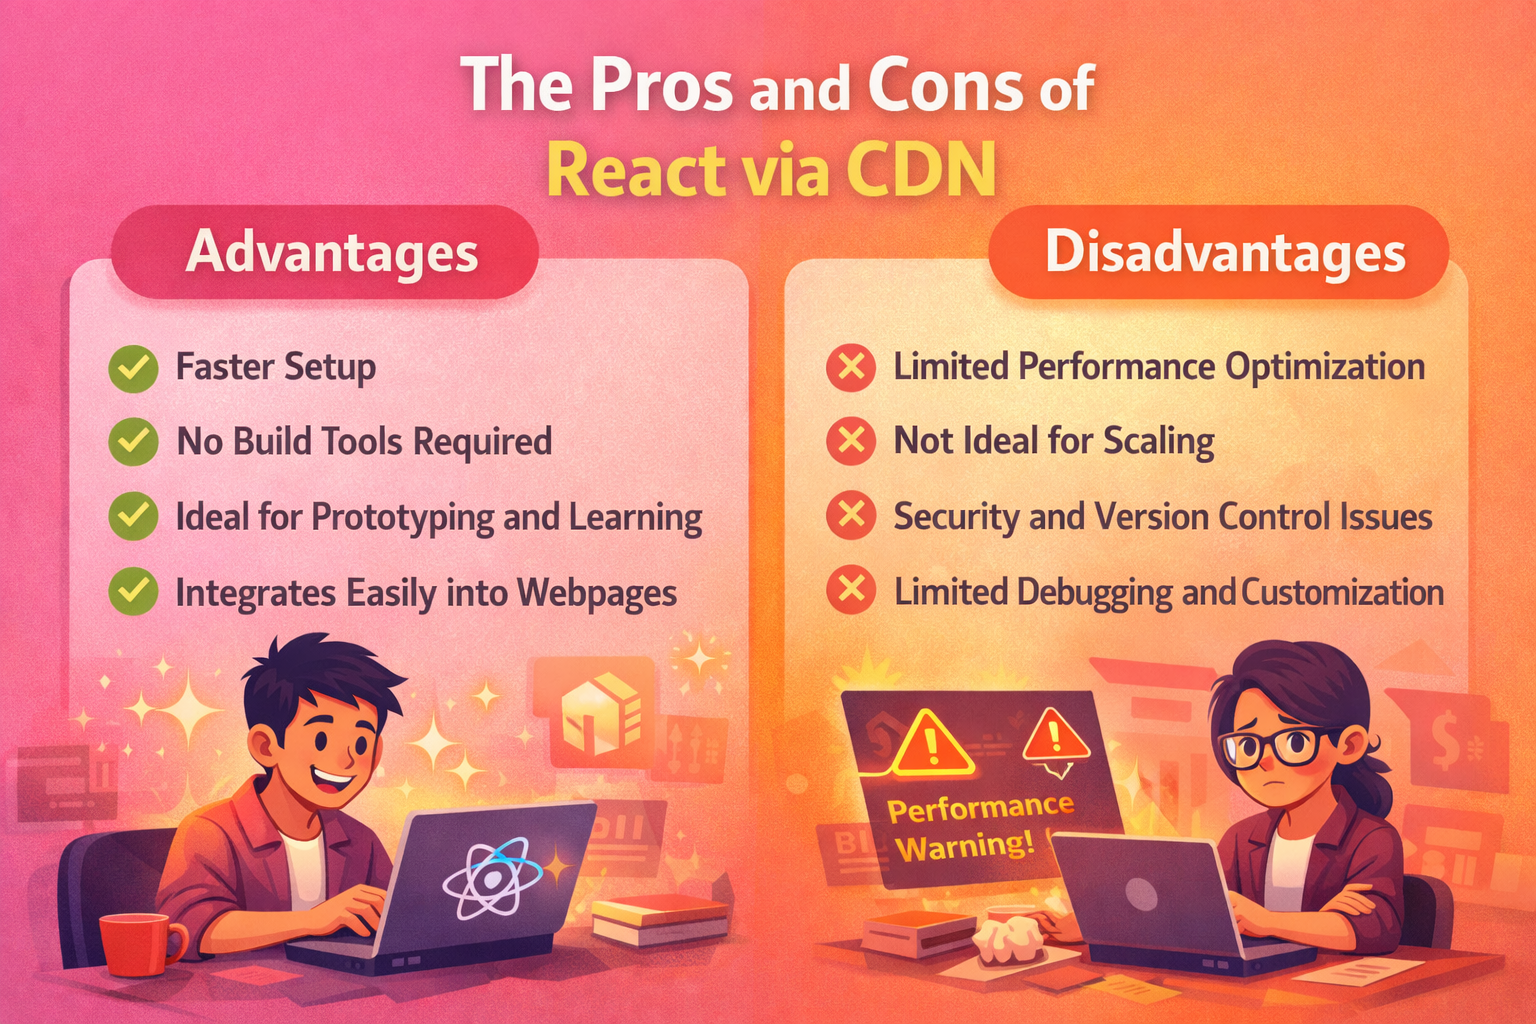
Advantages of React via CDN
- Faster Setup
One of the biggest advantages of React via CDN is the speed of setup. There's no need to install anything locally, no build tools to configure, and no complex package management to worry about. You simply include a few script tags, and you’re good to go. It’s the perfect solution for those who want to quickly test something out or learn React without being bogged down by setup time. - No Build Tools Required
With React via CDN, there’s no bundling or transpiling required. The browser handles JSX compilation with Babel, making it a great choice for beginners or small prototypes where complex configurations aren’t needed. This simplicity makes React via CDN an ideal option for non-technical users who want to add interactivity to their websites without worrying about complex build steps. - Ideal for Prototyping and Learning
React via CDN is perfect for experimenting or building small, self-contained components. It allows you to test and tweak your ideas quickly without the overhead of a full development environment. If you’re learning React, React via CDN keeps things straightforward, allowing you to focus on understanding the core concepts of components, state, and rendering. - Integrates Easily into Existing Webpages
If you already have a website and want to integrate React for a small feature or enhancement, using React via CDN is a no-fuss way to embed React directly. You can include it in specific parts of your page without needing to refactor the whole website or set up a full React application.
Disadvantages of React via CDN
- Limited Performance Optimization
While React via CDN is quick and easy to use, it lacks build-time optimizations like tree shaking, code splitting, and minification. This means that, for large applications, the performance may suffer as the entire React library and your code are sent to the browser without being optimized. The lack of performance tuning is a major downside for production applications where speed is critical. - Not Ideal for Scaling
React via CDN is best suited for small-scale projects or learning purposes. When your project grows, you'll find that managing dependencies directly via a CDN becomes unmanageable. It also doesn’t allow for the kind of modularization or team-based workflows that a build system can offer. Larger projects require tools like Vite or Webpack to ensure proper structure, performance, and team collaboration. - Security and Version Control Issues
Another downside of using a CDN for React is that you’re reliant on third-party servers. If the CDN goes down, your app could break, and you won’t have control over the React version. For enterprise applications or situations that require strict version control and security, relying on a CDN might not be ideal. - Limited Debugging and Customization
With a typical React setup, developers often have the advantage of custom error handling, debugging tools, and build-time control over optimization. With React via CDN, you're somewhat limited in these areas. Debugging may also become difficult as there’s no build-time configuration or developer tools to fall back on.
React via CDN: When to Use It
React via CDN is perfect when:
- You need quick feedback loops for small components or features
- You’re working on learning React or teaching others
- You’re building small prototypes or demos with minimal setup
- You’re enhancing an existing website with small, isolated features (e.g., adding interactivity to static pages)
However, as your project grows, you'll likely need to migrate to a full React setup to handle performance, scalability, and maintainability.
When to Move Away from React via CDN
React via CDN is great for quick experiments and learning. But when you start scaling up your project or building a production-level app, you’ll need more control and optimizations than CDN React can provide.
Here’s when to move away from React via CDN:
- When Performance Becomes Critical
As your app grows, you’ll need to focus on performance. React via CDN doesn’t offer features like code splitting, tree shaking, or minification—all of which help reduce your app's size and loading time in production. For performance-heavy applications, moving to a build-based setup like Vite or Next.js is a must. - When You Need Full Control Over Dependencies
CDN-based React is limited in terms of managing different versions of React and its dependencies. As your project grows, you might need fine-grained control over dependencies, allowing you to ensure that all parts of your app are working seamlessly. A traditional React setup with npm or yarn helps you manage versions better. - When Team Collaboration Is Required
If you’re working in a team or with multiple developers, React via CDN can quickly become messy and hard to manage. Without a bundler, version control, or defined structure, scaling development across multiple team members can lead to confusion and inconsistent setups. A build tool like Webpack or Vite helps provide a structure that supports team collaboration. - When Your App Needs to Scale
CDN React is not built for large-scale applications. As your app grows, you’ll need features like hot reloading, live debugging, and modularization to make your development process smoother. React via CDN doesn’t support these advanced features, which makes it unsuitable for large, complex apps. - When You Need Production-Ready Optimizations
In a real-world application, SEO, server-side rendering, and production-ready code are essential for success. With React via CDN, you’re limited to client-side rendering, and there’s no easy way to optimize your app for SEO or other performance factors. For these features, you’ll need a framework like Next.js, which allows for server-side rendering and static site generation.
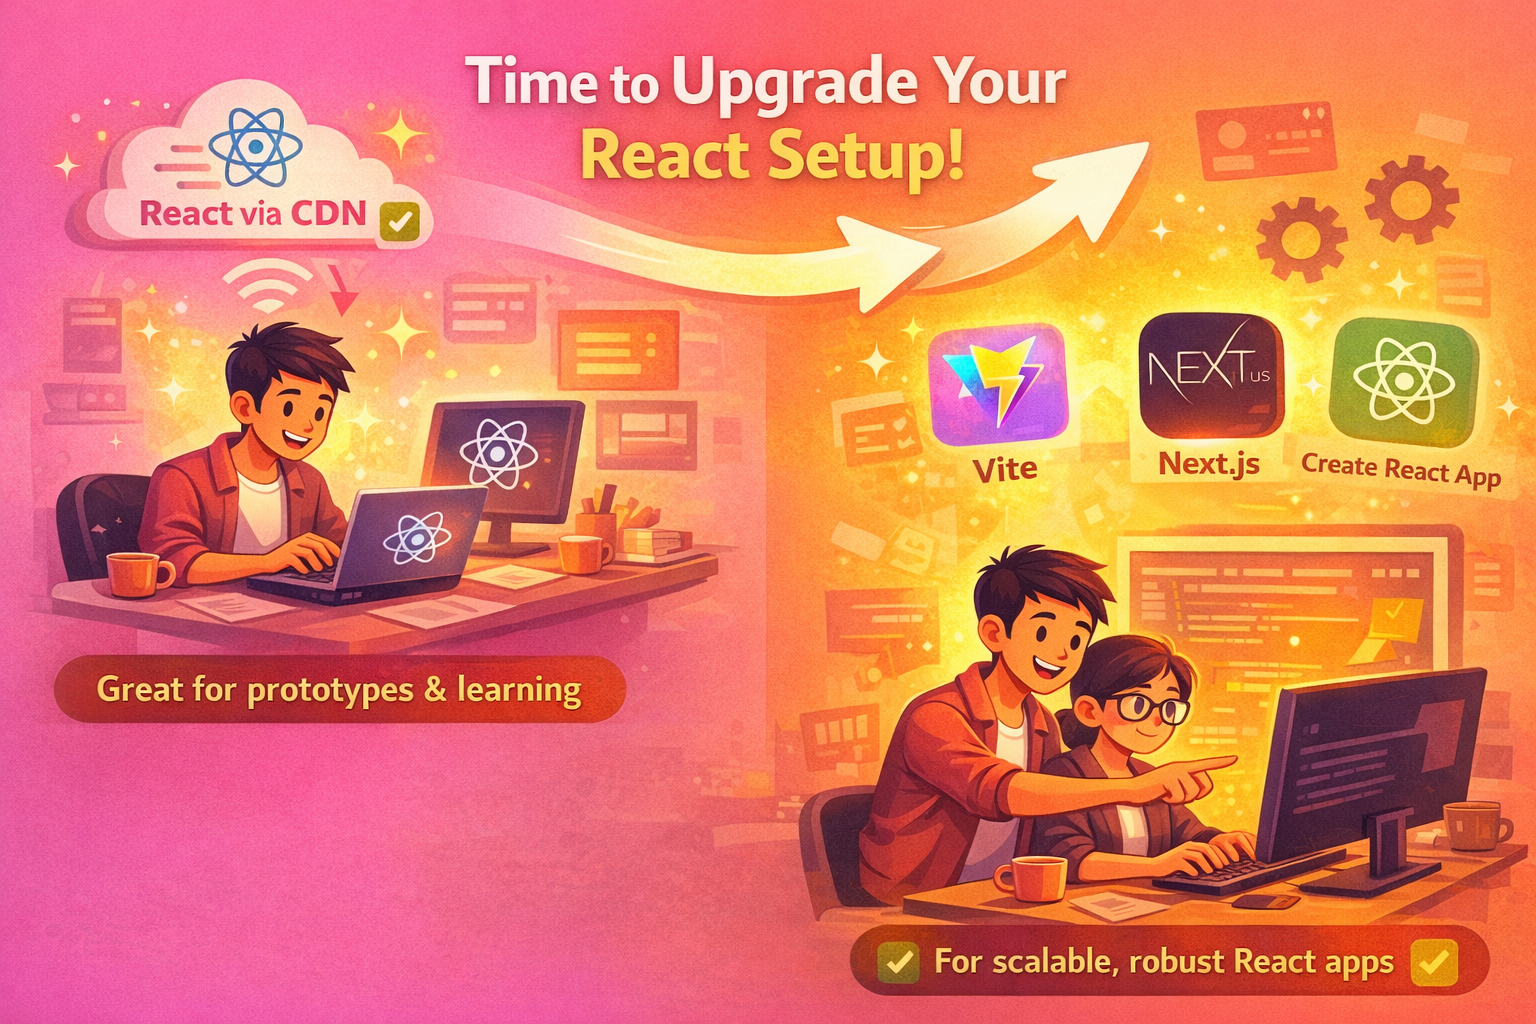
The Next Step: Upgrading Your React Setup
If you find yourself needing more features than React via CDN can offer, it’s time to look into upgrading your setup. Fortunately, the transition is easier than you might think. Tools like Vite, Next.js, or Create React App can help you quickly set up a more scalable, performant React environment with build tools, bundlers, and optimized production code.
Here are some tools that can help you scale:
- Vite: A fast and modern build tool with built-in optimizations.
- Next.js: Perfect for server-side rendering, static site generation, and API routes.
- Create React App: A well-established setup for React projects with minimal configuration.
How to Set Up React via CDN
Setting up React via CDN is as simple as including a few script tags in your HTML. There’s no need to install anything locally or configure complex build tools. Follow these steps to get started:
Step 1: Create an HTML File
First, create a simple index.html file. This is where we’ll include React and ReactDOM from the CDN.
<!DOCTYPE html>
<html lang="en">
  <head>
    <meta charset="UTF-8" />
    <meta name="viewport" content="width=device-width, initial-scale=1.0" />
    <title>React via CDN Example</title>
  </head>
  <body>
    <div id="root"></div>
  </body>
</html>
This is a basic HTML template with a div where your React component will be rendered.
Step 2: Add React and ReactDOM via CDN
Next, we need to add React and ReactDOM libraries to our HTML file using CDN links. React is a JavaScript library that powers our UI, while ReactDOM is responsible for rendering those components in the browser.
<script src="https://unpkg.com/react@18/umd/react.development.js"></script>
<script src="https://unpkg.com/react-dom@18/umd/react-dom.development.js"></script>
These links pull the latest development versions of React and ReactDOM from a CDN, so there’s no need for local installation.
Step 3: Use Babel for JSX Compilation
React uses JSX, a syntax extension that allows you to write HTML-like code in JavaScript. The browser doesn’t understand JSX, so we’ll use Babel, a JavaScript compiler, to transform it into vanilla JavaScript.
Add the following script tag to load Babel:
<script src="https://unpkg.com/@babel/standalone/babel.min.js"></script>This will allow you to use JSX directly in the browser, simplifying the setup even further.
Step 4: Write Your First React Component
Now, let’s create our first React component. We’ll write it inside a <script> tag and tell Babel to compile it.
<script type="text/babel">
  function App() {
    const [count, setCount] = React.useState(0);

    return (
      <div>
        <h1>Hello, React!</h1>
        <p>Count: {count}</p>
        <button onClick={() => setCount(count + 1)}>Increase</button>
      </div>
    );
  }

  ReactDOM.render(<App />, document.getElementById('root'));
</script>
This is a basic functional component with a state variable (count) and a button to increase the count. React takes care of updating the UI whenever the state changes.
Step 5: Open the File in Your Browser
Once you've added all the code, just open the index.html file in your browser. You should see the React app running, with the ability to click the button and update the count.
That’s It! You’re Ready to Start Building
React via CDN is the simplest way to get started. You don’t need a Node.js environment, complex build tools, or extensive configuration. You just load React from the CDN, and you’re ready to start building interactive components in your browser.
Final Thoughts: Should You Use React via CDN?
React via CDN is a fantastic solution for quick experimentation, learning, and small-scale projects. It removes the typical setup overhead that comes with modern React projects, allowing developers to jump straight into writing React components with minimal friction. Whether you're prototyping a new idea or just getting started with React, CDN offers a fast and straightforward approach.
However, it's important to recognize its limitations:
- Performance: No tree shaking or optimization for production-ready applications.
- Scalability: Not ideal for larger projects that require a more structured approach.
- Lack of control: For enterprise-grade apps, relying on third-party CDNs may not meet security and versioning needs.
So, when should you use React via CDN?
- When speed and simplicity are the priority, especially for learning or small projects.
- When you need to integrate React into an existing website without reworking the entire structure.
But, as your project grows and your needs become more complex, moving to a more robust setup with build tools like Vite, Next.js, or Create React App is often the best next step.
Now that you understand React via CDN, it's time to give it a try. Whether you're building your first React component or testing a small feature, this method will save you time and effort.
If you're ready to scale your React projects or need guidance on building more complex applications, reach out to us at Mediusware. Our experts can help you choose the right tools for your next big project.

I work at the point where product decisions, system architecture, and engineering execution meet. At Mediusware, I’m accountable for how technology choices affect reliability, scale, and long-term delivery for our clients.
Featureblogs
01
Haptic Feedback: Why Touch is Becoming the Most Powerful Experience in Tech02
12 Best AI Tools to Outperform ChatGPT03
The 12 Most Powerful LLMs: Powering Tomorrow’s Tech Landscape04
Why Software Companies Are Turning to Strategic Partnerships for Faster Growth05
Is Golang Still the Right Choice in 2025?01
Haptic Feedback: Why Touch is Becoming the Most Powerful Experience in Tech02
12 Best AI Tools to Outperform ChatGPT03
The 12 Most Powerful LLMs: Powering Tomorrow’s Tech Landscape04
Why Software Companies Are Turning to Strategic Partnerships for Faster Growth05
Is Golang Still the Right Choice in 2025?Relatedblogs
01
Integrating Redux with React: A Comprehensive Guide02
Laravel pagination and filtering with already loaded data as array in memory03
React + Three.js + React Three Fiber: Crafting Interactive 3D views in Web Applications04
Advanced Caching Strategies for Django Applications05
Implementing Roles and Permissions in Laravel Using Guard-Laravel